


Build an Image Labeler App using AWS Amplify and React Native
Powered By AWS Amplify Auth, API (GraphQL), DataStore, Storage, Predictions


Photo by Alex Blăjan on Unsplash
Intro
A while back I created a couple of apps to test drive some new (to me) frameworks:
Continuing in that tradition I decided to write a similar app using AWS Amplify and React Native. Thanks to AWS Amplify I ended up with a much more secure and private version of my previous apps with virtually no additional work from me.
The app we will build allows a user to take a photo which is uploaded and stored securely and privately. The photo is then analyzed using Amplify Predictions which returns a list of labels. The labels are then stored along with the image key so that the user can view a list of all of the images and the associated labels.
Here is a little preview of what we are building:
The finished app is available here:
Here is a list of frameworks and libraries we will use:
- React Native
- AWS Amplify Authentication
- AWS Amplify API (GraphQL)
- AWS Amplify DataStore
- AWS Amplify Storage
- AWS Amplify Predictions
- react-native-camera
- react-native-paper
- react-native-vector-icons
Ready? Let's get to it.
Environment and AWS Setup
First, let's get your environment and the Amplify CLI setup. Follow the instructions here. At this point your environment is setup and you've linked your AWS account to the Amplify CLI.
React Native + Amplify Project Setup
Second, we need to initialize our fullstack project including React Native and Amplify. First create a new React Native project following the instructions here. You can change RNAmplify to whatever name you'd like; I used RNAmplifyImageLabeler. Stop when you reach the bottom of the page, don't proceed to Connect API and database to the app as we are going to do something different next.
Amplify API and Datastore
Next we are going to add our API and Datastore. Under the covers these steps will create and setup both AWS App Sync and DynamoDB. We are going to use GraphQL for our API. Amplify makes this easy for us:
amplify add api
Answer the prompts as follows:
? Please select from one of the below mentioned services: GraphQL
? Provide API name: rnimagelabeler
? Choose the default authorization type for the API API key
? Enter a description for the API key: demo
? After how many days from now the API key should expire (1-365): 365
? Do you want to configure advanced settings for the GraphQL API No, I am done.
? Do you have an annotated GraphQL schema? No
? Choose a schema template: Single object with fields (e.g., “Todo” with ID, name, description)
? Do you want to edit the schema now? Yes
This should open a file, schema.graphql, in your editor. If not, you can find it in your project at amplify/backend/api/rnimagelabeler/schema.graphql
You should see a Todo model:
type Todo @model {
  id: ID!
  name: String!
  description: String
}
Change this to:
type Image @model {
  id: ID!
  key: String!
  labels: [String]
}
An image object will have an id, a key that corresponds to the file key, and a list of labels that will store the labels found by Amplify Predictions.
Let's push this backend to AWS:
amplify push
You'll see another series of prompts:
? Are you sure you want to continue? Yes
? Do you want to generate code for your newly created GraphQL API Yes
? Choose the code generation language target javascript
? Enter the file name pattern of graphql queries, mutations and subscriptions src/graphql/**/*.js
? Do you want to generate/update all possible GraphQL operations - queries, mutations and subscriptions Yes
? Enter maximum statement depth [increase from default if your schema is deeply nested] 2
When complete, you should see
✔ Generated GraphQL operations successfully and saved at graphql
✔ All resources are updated in the cloud
Awesome! Let's test it. Open up App.js.
{% collapsible If you are using VS Code and run into issues after opening App.js check this out %} I ran into some compatibility issues with Flow and VS Code. If you run into issues make sure you follow the instructions here. I also had to change the version in .flowconfig to >=0.107.0. {% endcollapsible %}
Let's add a list to display some of the image info and a button to add a new image. We will build upon this to actually deal with images in a later step. Change App.js to this:
fetchImages() uses the auto-generated listImages to get a list of images from our API. addImage() is a temporary function to test adding a new image with a key value of the timestamp and labels set to a list of test labels.
Now let's run it on an iOS simulator:
npx react-native run-ios
Or, you can run on an Android emulator:
npx react-native run-android
You should see something like this:
We just successfully tested creating and fetching image objects using Amplify API and DataStore!
Amplify Authentication
Let's add authentication to our app. We want to make sure that only the owner of the images is able to view their images. We need to make sure we secure the image objects in the database as well as the images we upload (covered in the next step). We also need a way for users to register for our app, login, reset their password, etc. Lucky for us Amplify makes this ridiculously easy!
First let's add auth to our backend:
amplify add auth
And follow the prompts (you can choose a different sign in method if you'd like):
Do you want to use the default authentication and security configuration? Default configuration
How do you want users to be able to sign in? Email
Do you want to configure advanced settings? No, I am done.
Let's push our changes:
amplify push
If you're asked if you'd like to continue just hit Enter.
Now let's add to our app. This is the really cool part. Add an import to App.js:
import { withAuthenticator } from 'aws-amplify-react-native';
And change the last line of App.js...
export default withAuthenticator(App);
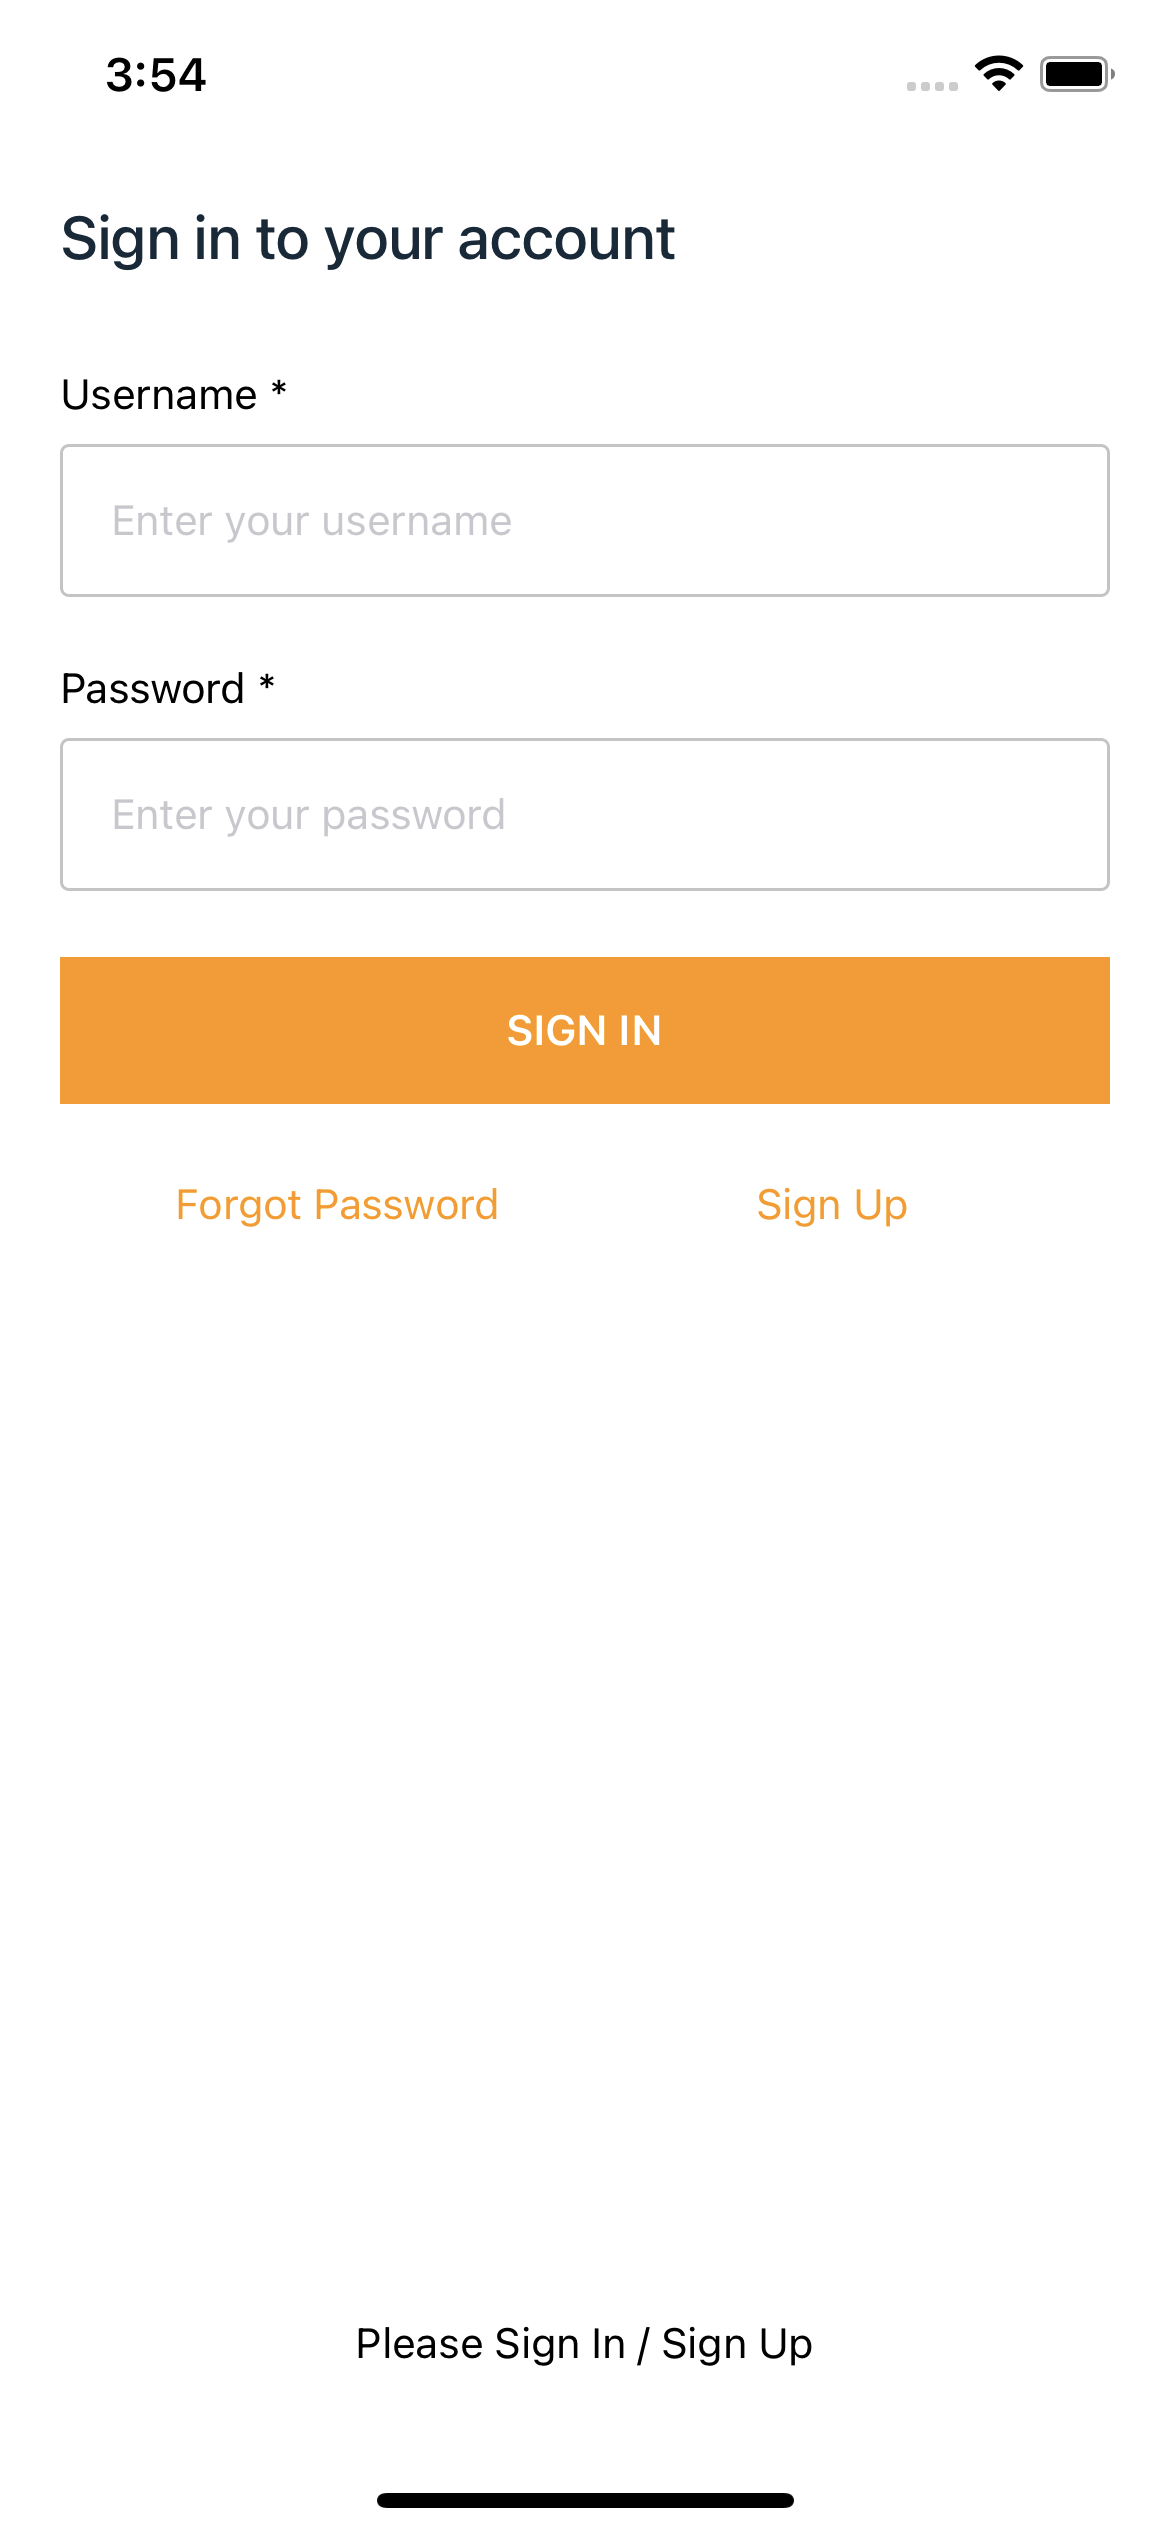
...and save. You should see your simulator or emulator refresh and voilà! We now have a complete auth flow with 2 lines of code. 🤯
Let's update our Image model to use Owner Based Authorization. This specifies create, read, update, and delete operations are private to the owner. Change amplify/backend/api/rnimagelabeler/schema.graphql to
type Image @model @auth(rules: [{ allow: owner }]) {
  id: ID!
  key: String!
  labels: [String]
}
We now have to update our API to use Amazon Cognito instead of the API Key we initially setup:
amplify update api
Walk through the series of prompts:
? Please select from one of the below mentioned services: GraphQL
? Select from the options below Update auth settings
? Choose the default authorization type for the API Amazon Cognito User Pool
Use a Cognito user pool configured as a part of this project.
? Configure additional auth types? No
Push the changes we just made to the backend:
amplify push
Once that is complete go back to your simulator (or emulator), tap Sign Up, create an account, then sign in. Where did our test Image object go? Now that we're using owner based auth we don't see any as we don't own any. Before we create any more image objects let's add the ability to upload and display actual images.
Amplify Storage
We need a way to use the device's camera and upload to Storage (S3). There are many react native camera libraries out there but we are going to use react-native-camera. Let's add it now:
yarn add react-native-camera
Then update pods if you're building an iOS app:
npx pod-install
There are some additional steps around adding permissions that we need to do. Follow instructions for iOS and/or Android.
Next, add storage:
amplify add storage
And follow the prompts:
? Please select from one of the below mentioned services: Content (Images, audio, video, etc.)
? Please provide a friendly name for your resource that will be used to label this category in the project: rnamplifyimagelabelerstorage
? Please provide bucket name: rnimagelabelerdceb74205c75476884aef48a88a40517
? Who should have access: Auth users only
? What kind of access do you want for Authenticated users? create/update, read, delete
? Do you want to add a Lambda Trigger for your S3 Bucket? No
Push to the cloud:
amplify push
Before we go any further we have to change index.js to get around this issue {% github github.com/aws-amplify/amplify-js/issues/5918 %}
Change
Amplify.configure(config);
to
Amplify.configure({
    ...config,
    Analytics: {
        disabled: true,
    },
});
Now, let's update App.js to take a picture with the device camera, upload it to S3, and save the info to the database:
We've added a few things. onShowCameraPressed() sets the newly created showCamera state, which allows us to present the camera view to the user. Inside the camera view we have a button, Label Image, that is bound to takePicture(). takePicture() sets some camera options and takes a photo. In order to get the image in a format we can upload to S3, we fetch the image file and take the [blob]
(developer.mozilla.org/en-US/docs/Web/API/Bo..) from the response. We then grab the filename to use as the key and use Storage.put() to upload the image. We specify { level: 'private' } to ensure the image is only viewable by the owner of the image. We then add the image to the database with the S3 key and dismiss the camera view.
We need a way to display the image back to the user using the S3 key. Lucky for us Amplify has S3Image that we can pass the key and level="private" along with some basic styling. That's all we need!
Now let's test this on a real device since we want to use the camera. For iOS, run:
npx react-native run-ios --device
You will probably see an error similar to this:
error Failed to build iOS project. We ran "xcodebuild" command but it exited with error code 65. To debug build logs further, consider building your app with Xcode.app, by opening RNAmplifyImageLabeler.xcworkspace.
Since we are testing on a device we need to add a team to our project. Open up XCode (change the path to whatever you named your project):
open ios/RNAmplifyImageLabeler.xcworkspace/
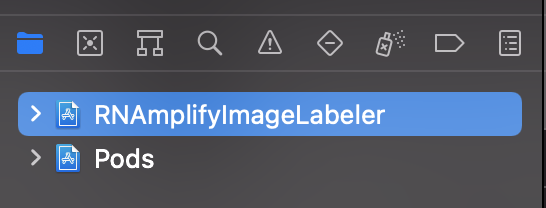
Make sure your app project is selected on the left:
Then click the Signing & Capabilities tab and choose a Team:

Back to the terminal. You should be able to build and run the app now:
npx react-native run-ios --device
Go ahead and take a picture. You should see something like the following:

Sweet! We are still adding the test labels to each image. Let's add image labeling next.
Amplify Predictions
Amplify Predictions offers language translations, text to speech, audio transcriptions, and much more. We are going to use it to label objects in our images. Under the covers, this utilizes Amazon Rekognition
First, add it:
amplify add predictions
Then follow the prompts:
? Please select from one of the categories below Identify
? What would you like to identify? Identify Labels
? Provide a friendly name for your resource rnamplifyimagelabeler
? Would you like use the default configuration? Default Configuration
? Who should have access? Auth users only
Next run:
amplify push
Now we need to Configure our app by changing index.js to
import { AppRegistry } from 'react-native';
import App from './App';
import { name as appName } from './app.json';
import Amplify from 'aws-amplify';
import Predictions, { AmazonAIPredictionsProvider } from '@aws-amplify/predictions'
import config from './aws-exports';

Amplify.configure({
    ...config,
    Analytics: {
        disabled: true,
    },
});
Amplify.addPluggable(new AmazonAIPredictionsProvider());

AppRegistry.registerComponent(appName, () => App);
Next update App.js to label the images:
Now after we upload the image to S3, we call Predictions.identify() with the image key, the level (private), and type: "ALL" (you can change type as you see fit). We then map the image label names and pass them into our addImage() to save them to our database. Let's fire up our app again:

Awesome! We allow our users to register for our app, save images privately to the cloud, identify labels, and display a list back to them. From here we can add all sorts of functionality: removing images, displaying labels based on confidence (we are showing all so far), searching the list of images based on labels, adding bounding boxes to the image to outline the objects that are labeled, etc, etc. If anyone ends up using this as the basis for an app, I'd love to hear about it!
Before we go, let's clean up our app a bit.
React Native Paper
Paper is "Paper is a collection of customizable and production-ready components for React Native, following Google’s Material Design guidelines."
In our case we are going to use Cards and AppBar to spruce up our app.
Run
yarn add react-native-paper
Then
yarn add react-native-vector-icons
On iOS linking isn't working (at least for me), so I followed these instructions. Add the following line to ios/Podfile:
pod 'RNVectorIcons', :path => '../node_modules/react-native-vector-icons'
Then
npx pod-install
Finally, add the following to the end of ios/<project name>/Info.plist, inside the closing </dict>:
<key>UIAppFonts</key>
<array>
     <string>MaterialCommunityIcons.ttf</string>
</array>
Now let's change App.js a bit:
Let's do a fresh build and test:
npx react-native run-ios --device
Beautiful!
Let me know if you run into any issues and I'll do my best to help. I'm thinking about re-creating the above as either a live coding session or a prerecorded video. Let me know if you're interested!